Create a Scene
Use this guide to start a new design project in deFlex. A scene is the top-level container for your entire optimization problem -- it holds the design domain, preserves, pairs, solver settings, and all solver run results.
Steps
1. Open the home page
Navigate to the deFlex home page. You will see your existing scenes (if any) and a button to create a new one.
2. Click + New
Click the + New button. This opens the Scene Setup Wizard, a two-step process that configures the analysis type and dimensionality.
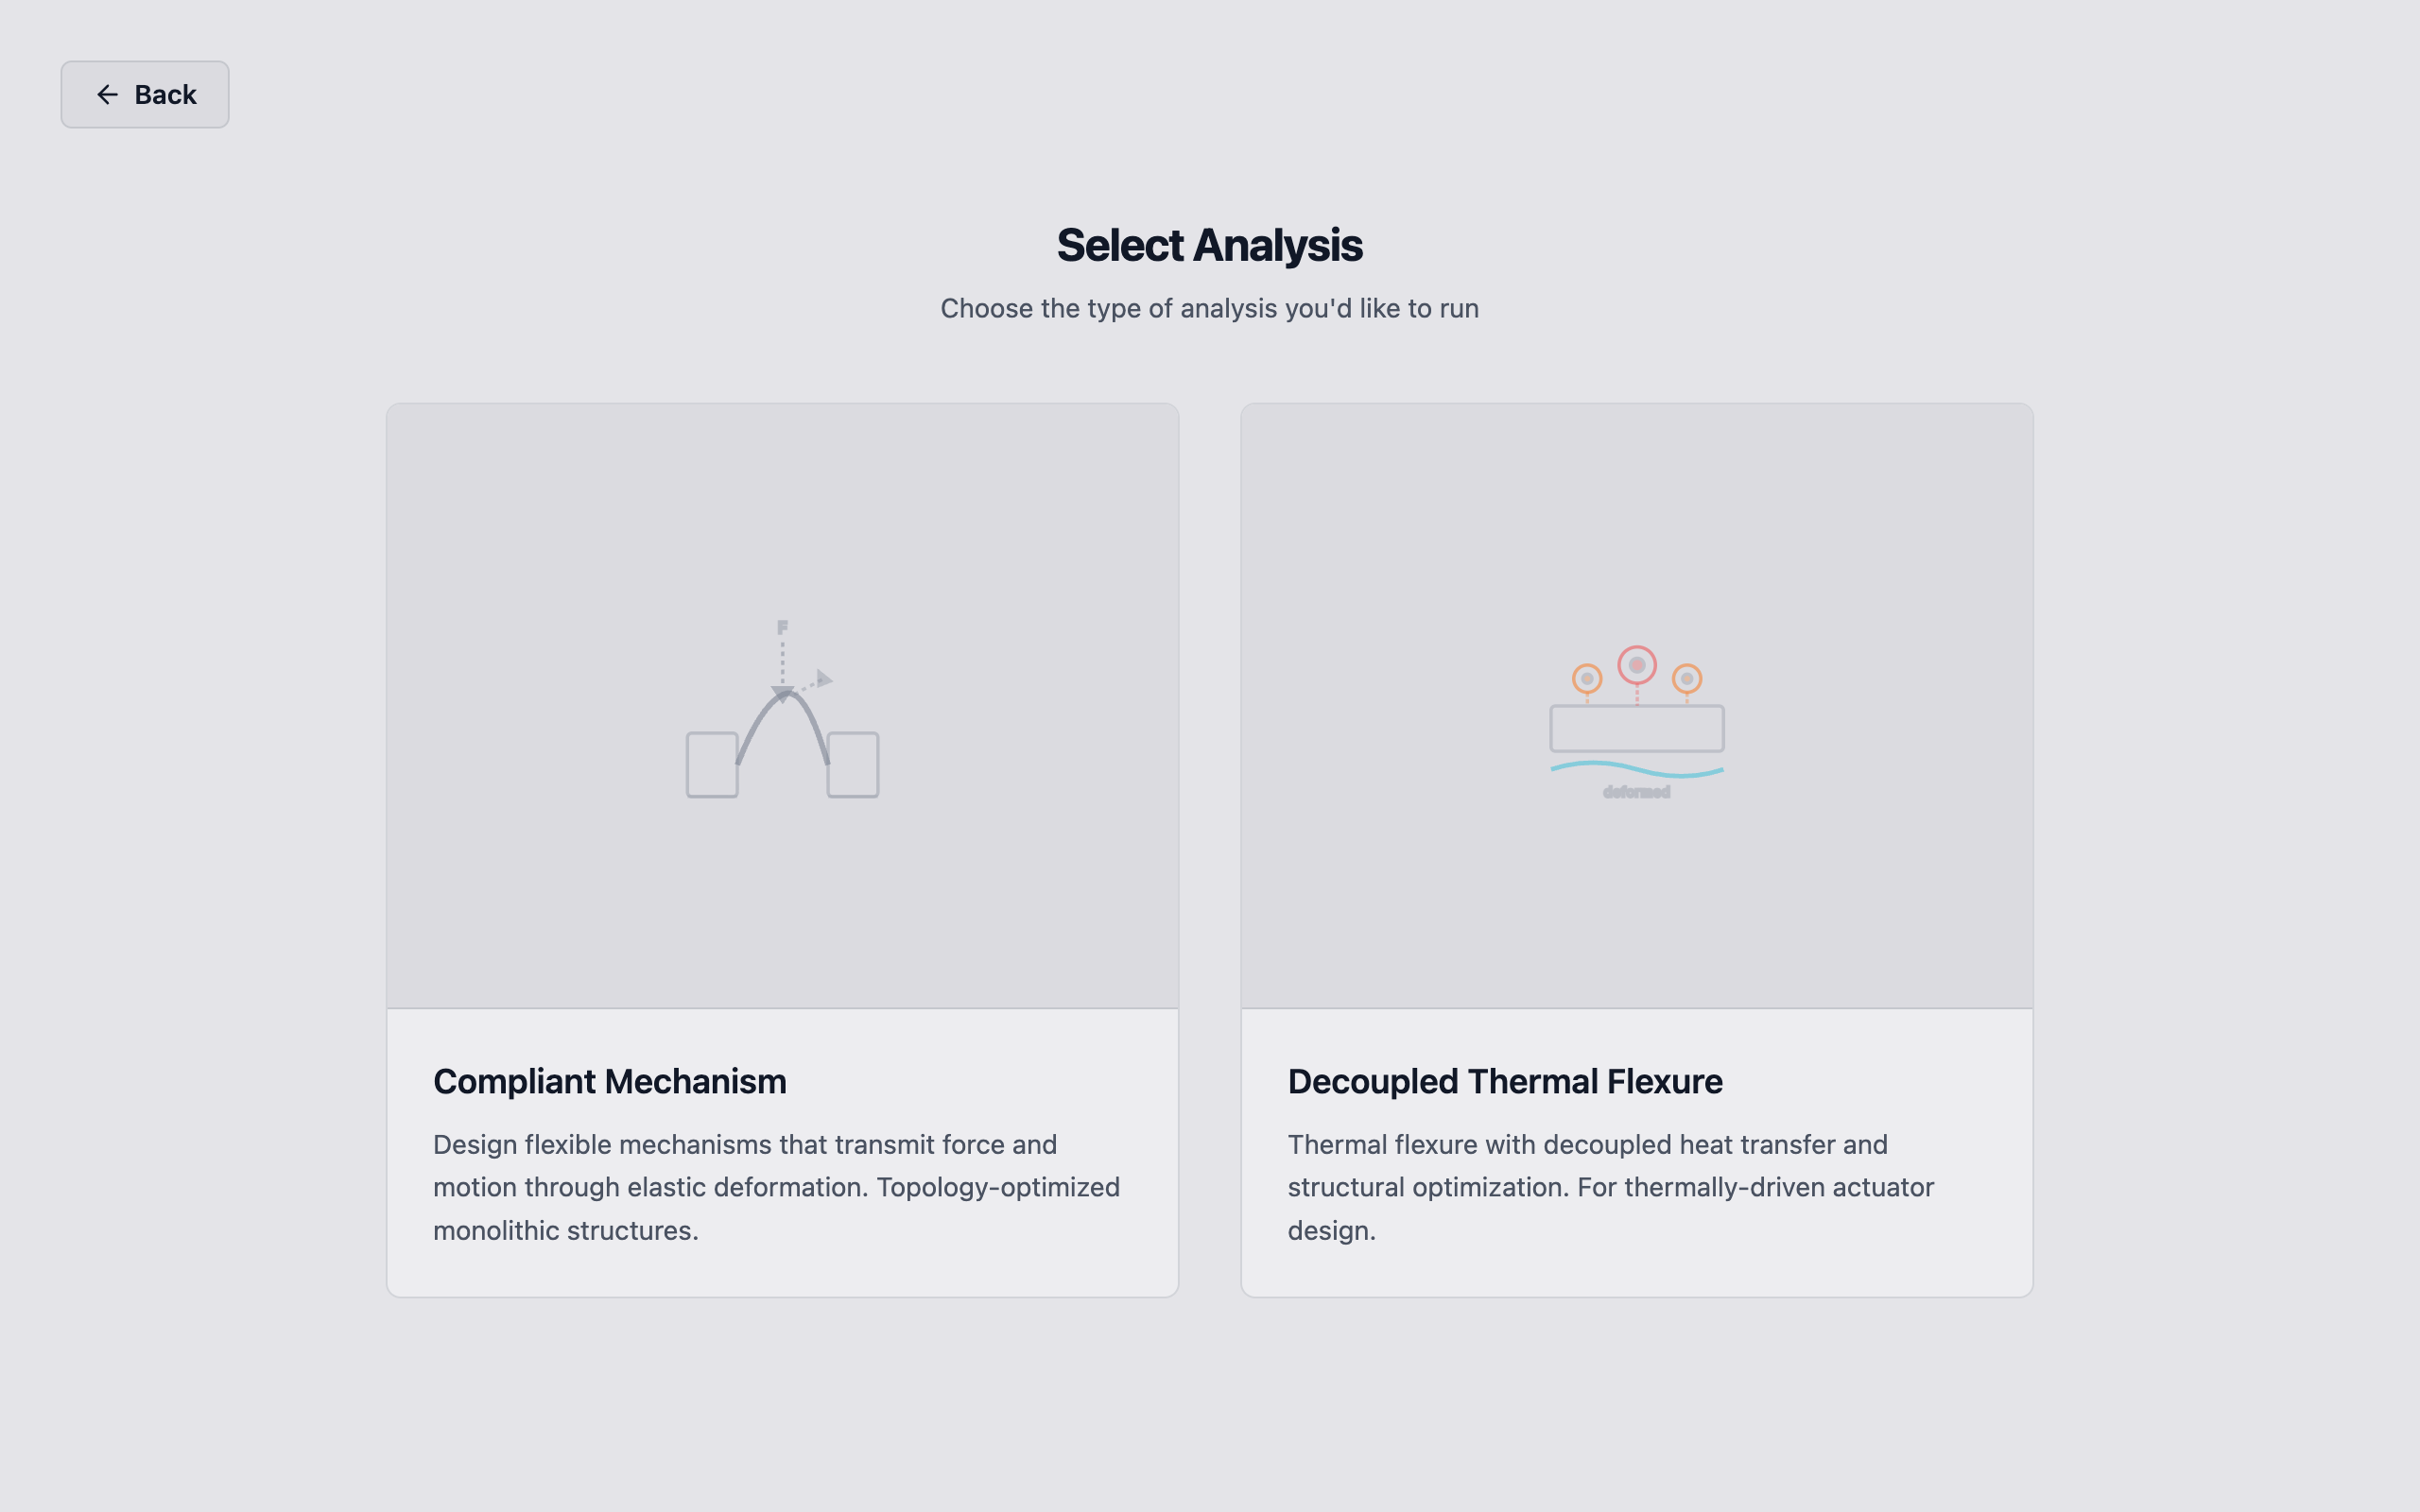
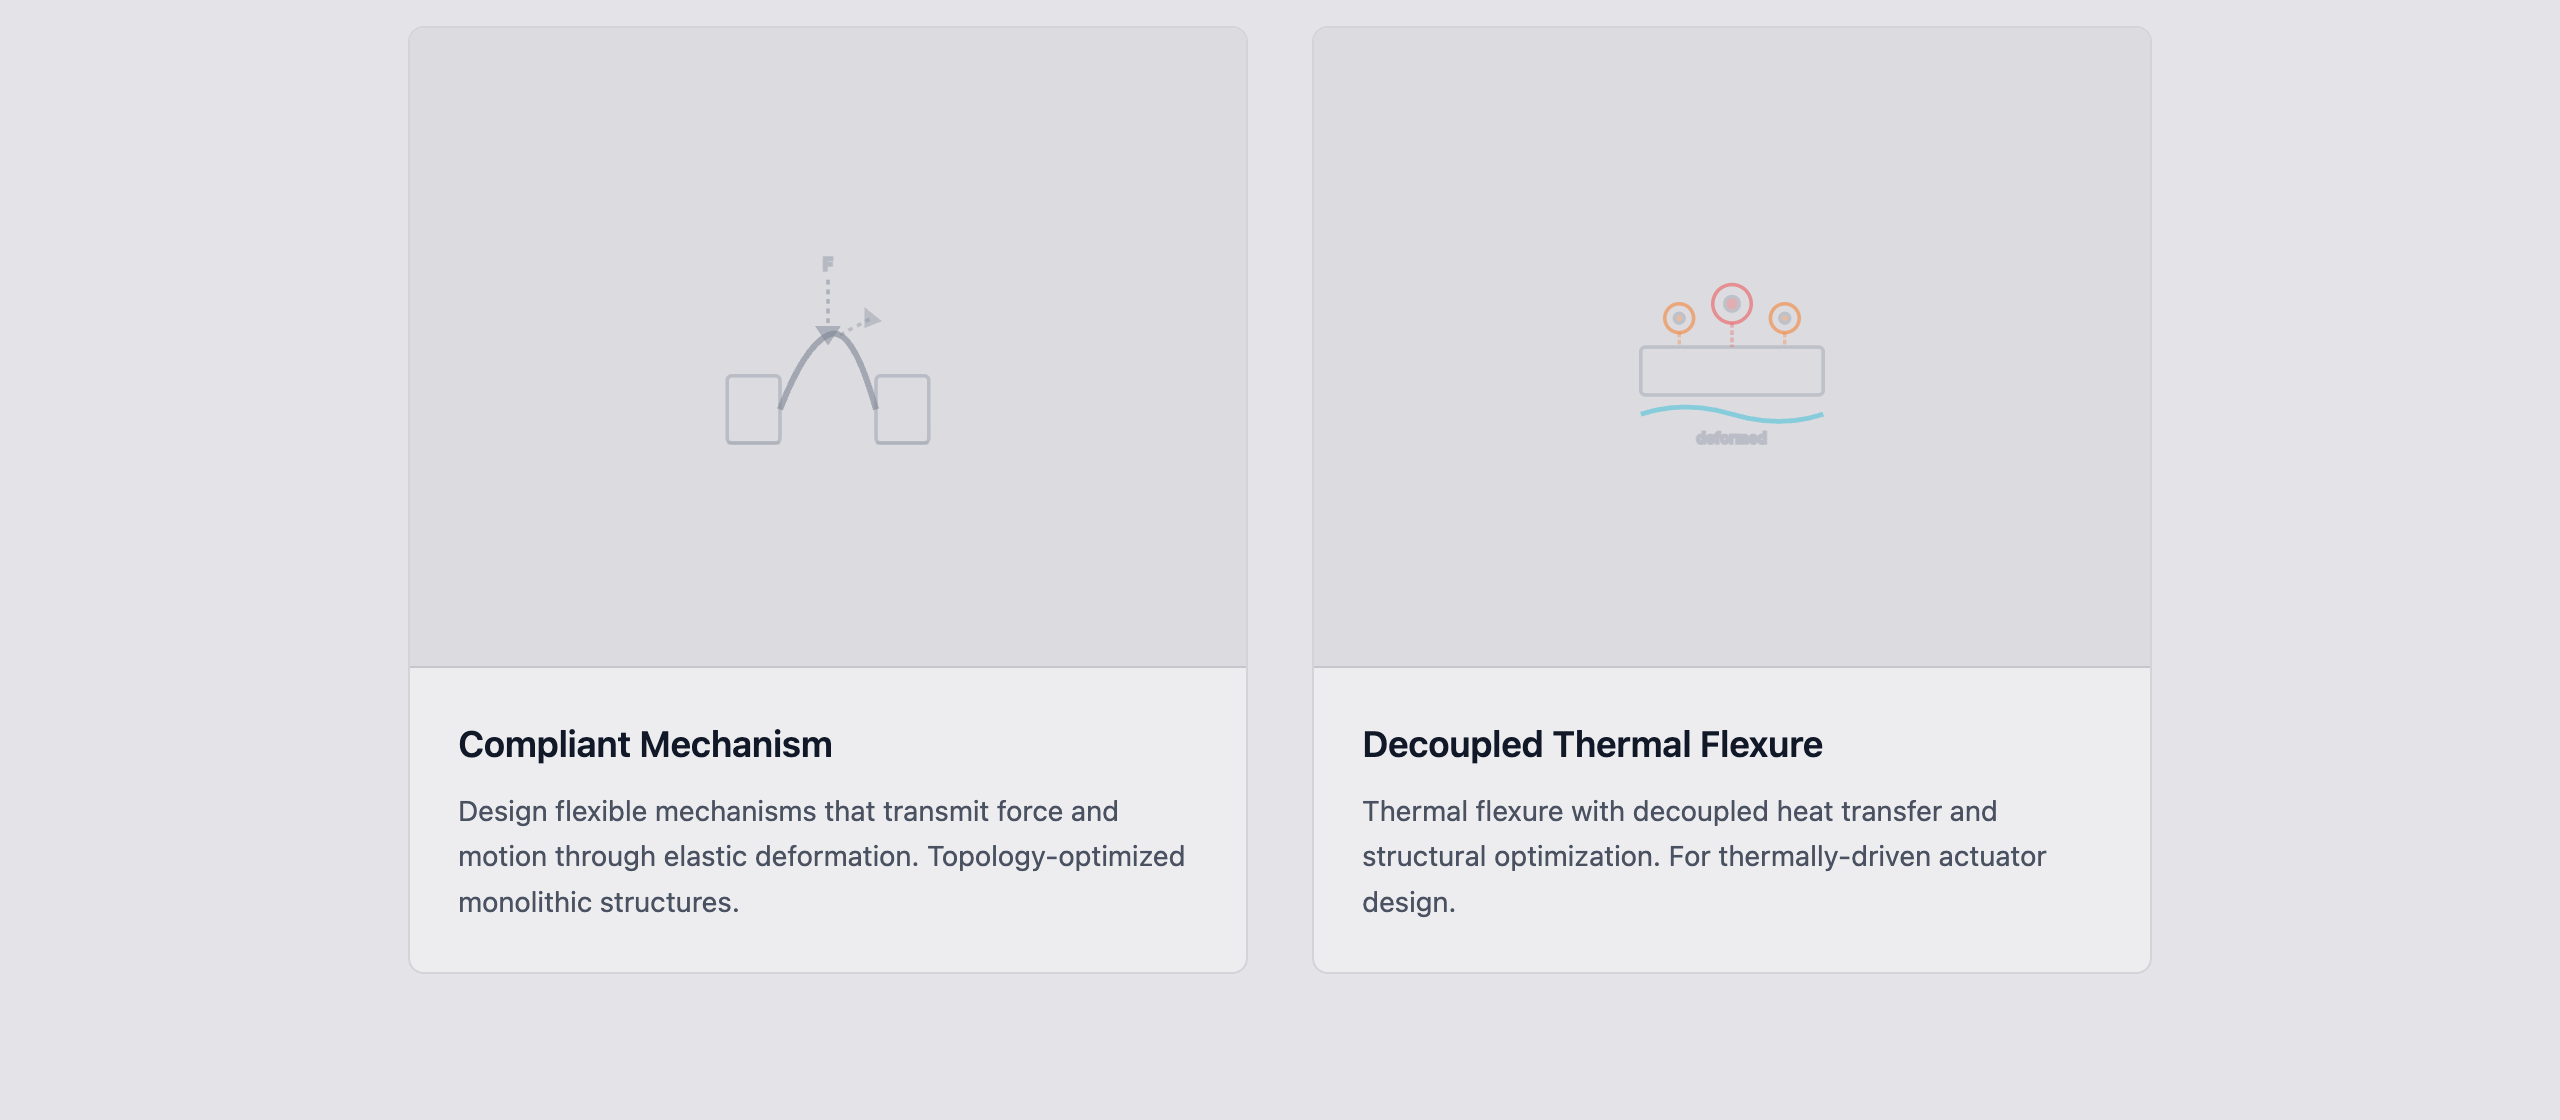
3. Select the analysis type
The wizard presents the available analysis types:
- Compliant Mechanism: Design flexible mechanisms that transmit force and motion through elastic deformation. Use this for force inverters, displacement amplifiers, grippers, and general compliant mechanism design.
- Decoupled Thermal Flexure: Design flexures that accommodate thermal expansion. Two-stage optimization: thermal pre-computation followed by structural design optimization. Use this for optical mounts, cryogenic instrument supports, and precision thermal management.
Click the card for your analysis type.
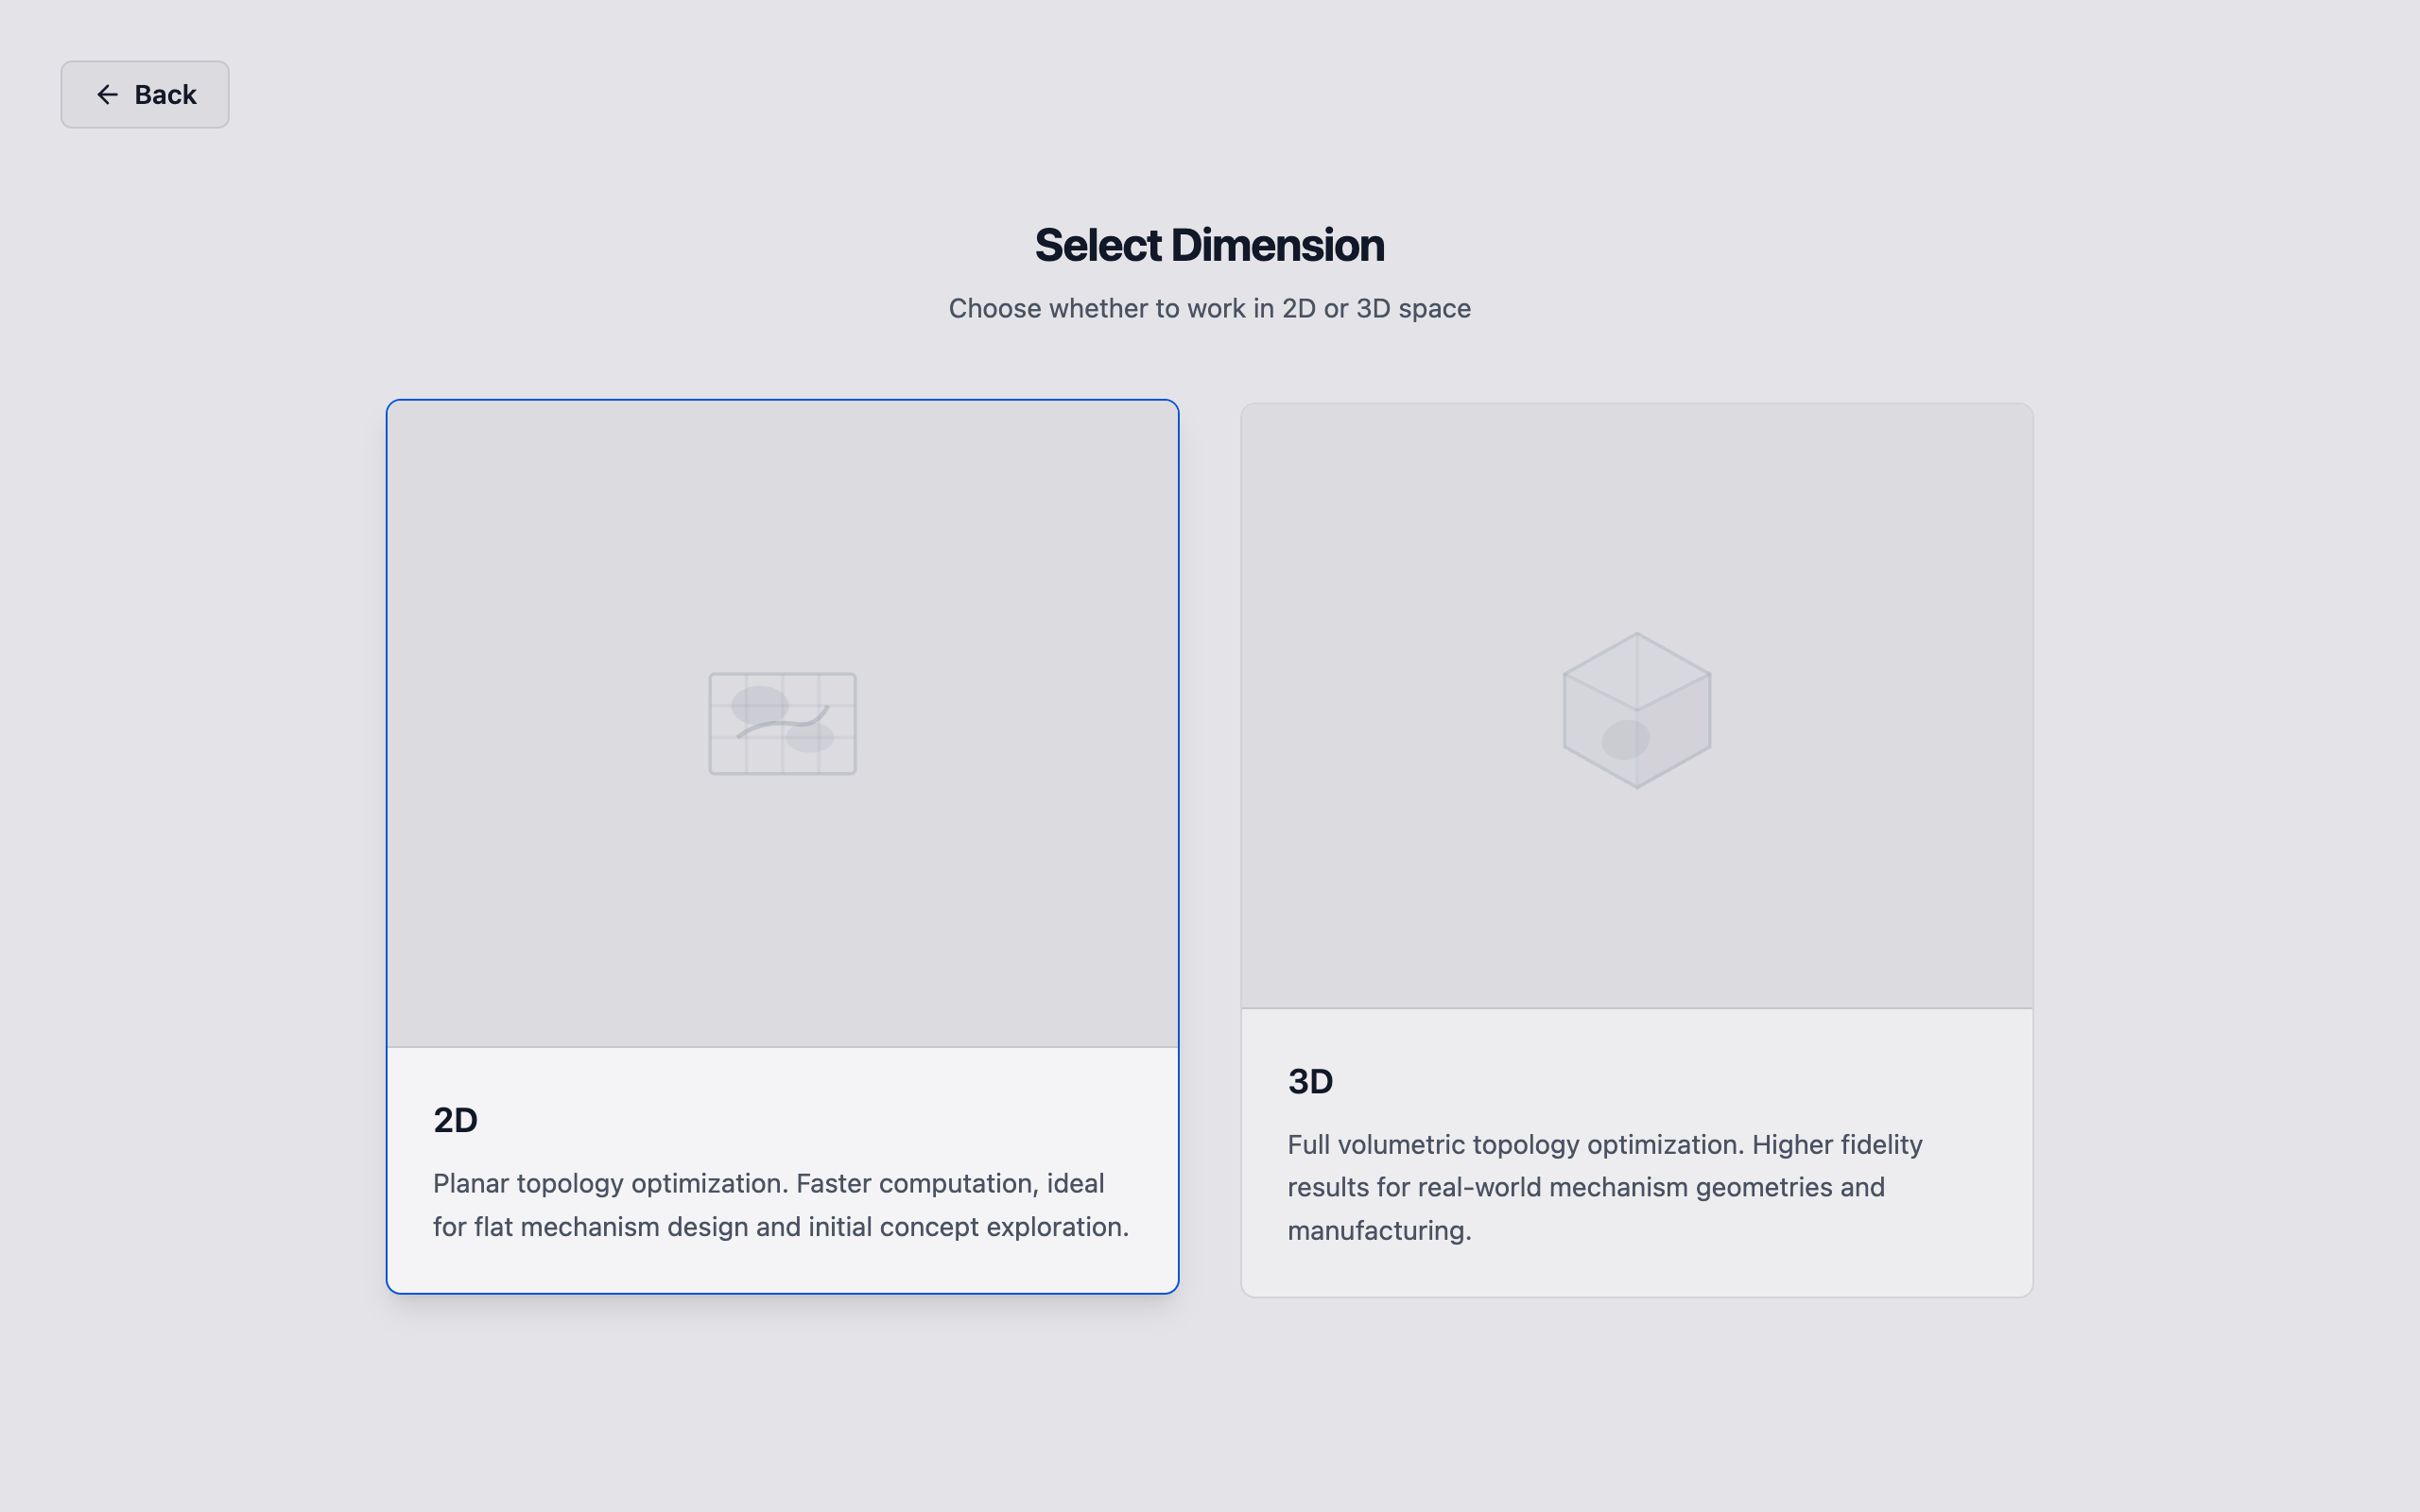
4. Select the dimension (Compliant Mechanism only)
If you selected Compliant Mechanism, the wizard asks for the dimensionality:
- 2D: Planar design optimization. Faster computation, suitable for flat mechanisms and initial concept exploration.
- 3D: Full volumetric design optimization. Higher fidelity for real-world geometries with out-of-plane features.
Decoupled Thermal Flexure is 2D only and skips this step.
Click the dimension card to proceed.
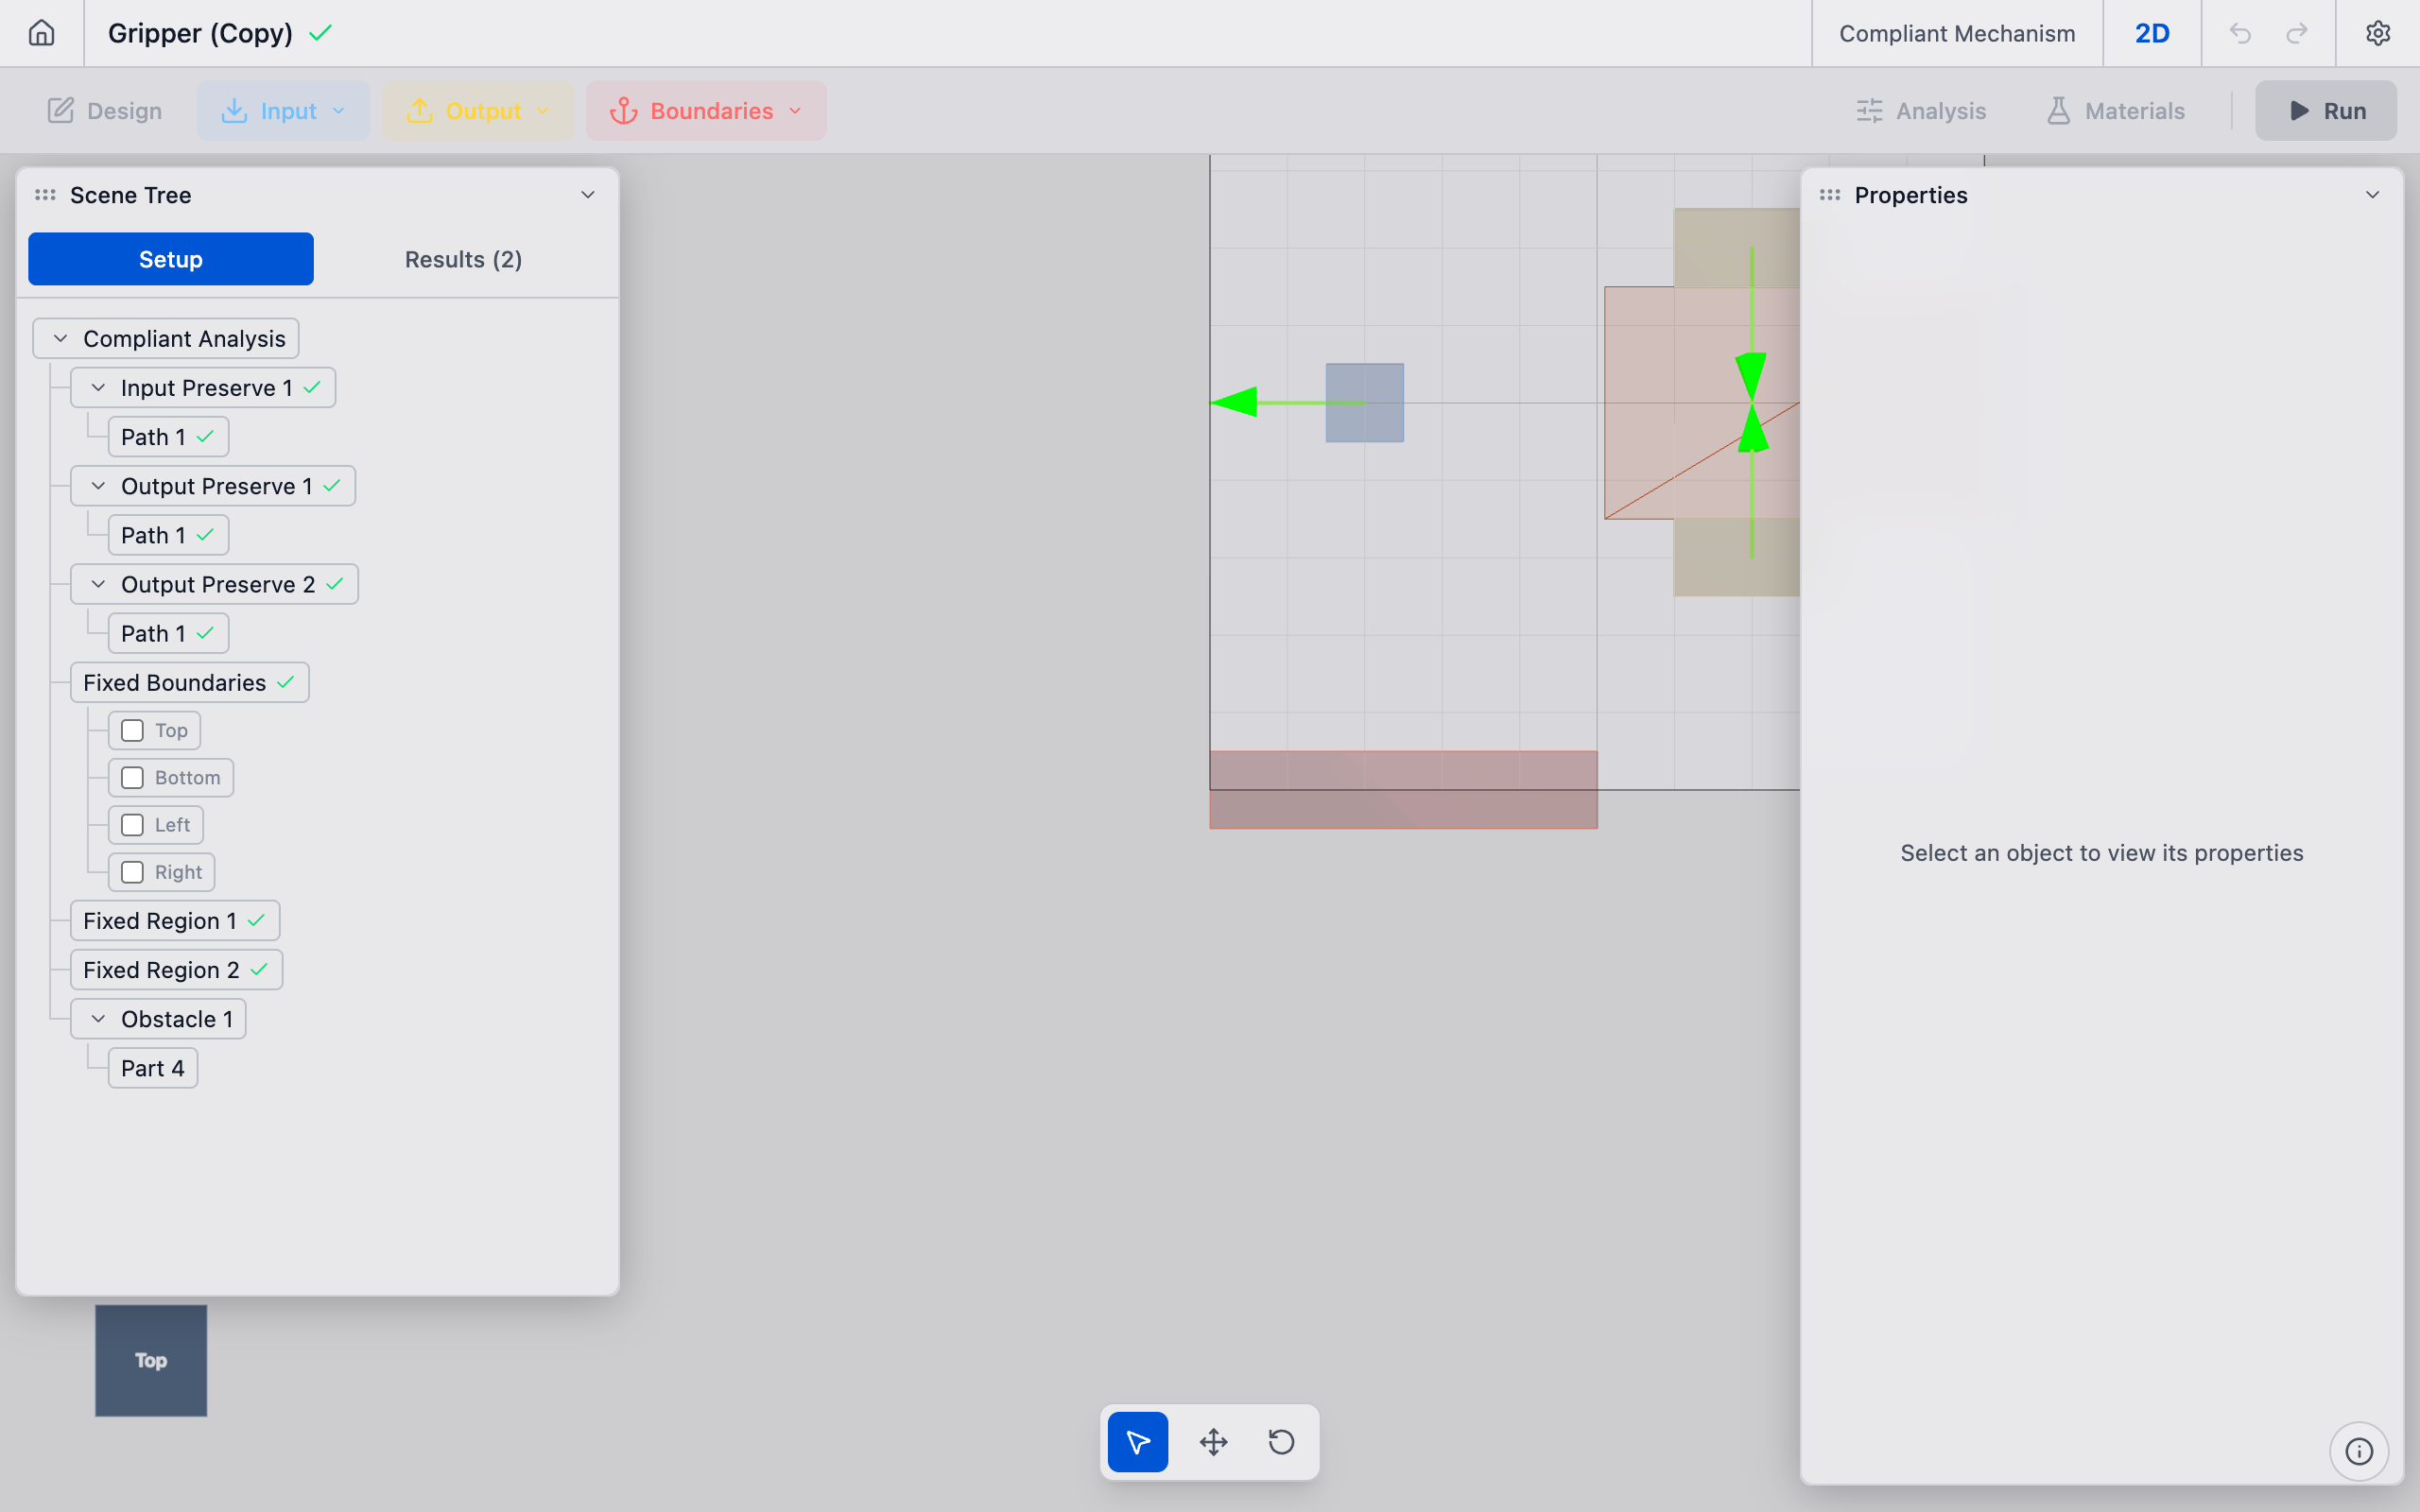
5. Start designing
The wizard creates the scene with a default analysis object (100 x 100 mm domain, 2.0 mm element size, 0.30 volume fraction) and opens the editor. You are now in the main workspace where you can:
- Define or import geometry
- Place preserves
- Configure solver settings
- Run optimizations
The scene is automatically saved to the cloud and appears on your home page for future access.
Scene naming
New scenes are created with a default name. To rename a scene:
- Open the scene in the editor.
- Click the gear icon in the top-right corner of the primary bar.
- Go to the Scene tab.
- Edit the name in the Scene Name field. The change is saved when you click away.
Use descriptive names that identify the project and configuration (e.g., "Cryostat Mount v3 - 4 bolt" or "Gripper 2D - high VF").
Tips
- One analysis per scene. Each scene contains exactly one analysis object. To compare different analysis types, create separate scenes.
- Scene tags: The wizard automatically tags the scene with the analysis type and dimension (e.g.,
2d,compliant). These tags determine which UI features are available. - Templates: If templates are available, you can start from a pre-configured scene instead of a blank one. Check the Templates page on the home screen.
- Back to home: Press Escape or click the Back button during the wizard to return to the home page without creating a scene.